Introduction
This blog post is the second article in the series: "ArchLinux: The hard way". Since the release of the free version of Workstation pro 17, I wanted to try out the product and see how it works with Arch Linux and Sway.
Being familiar with the good old i3, I was eager to test out Sway, a tiling manager for Wayland designed as a replacement for i3 (which works on Xorg).
I initially tried to install it on Virtualbox, but faced poor performance and issues with enabling 3D Acceleration. Therefore, I decided to see if Vmware provides a more straightforward configuration.
The configuration and installation of Arch Linux is the same of the previous article:
Here, we'll focus on setting up Vmware Workstation Pro 17 and configuring Sway.
Let's dive in.
Vmware Workstation pro 17 setup
First, download Workstation Pro 17 from the official site (registration required).
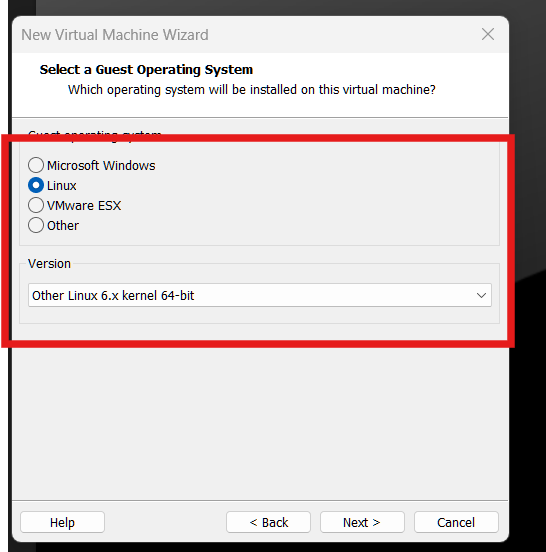
Create the VM by navigating to: File --> Create new VM, select the Arch_linux iso you downloaded, and for the Guest Operating System, choose:
Then, configure the VM with an appropriate amount of memory, disk space, and CPU power.
My configuration:
- 6 CPUs
- 8 GB RAM
- 100 GB hard disk
You can adapt these settings by using fewer CPUs or less RAM, but it's highly recommended to allocate at least 50 GB of disk space to allow room for swap and the root partition.
Enable 3D graphics acceleration: Right-click on the VM --> Settings --> Display, then check Enable 3D Acceleration
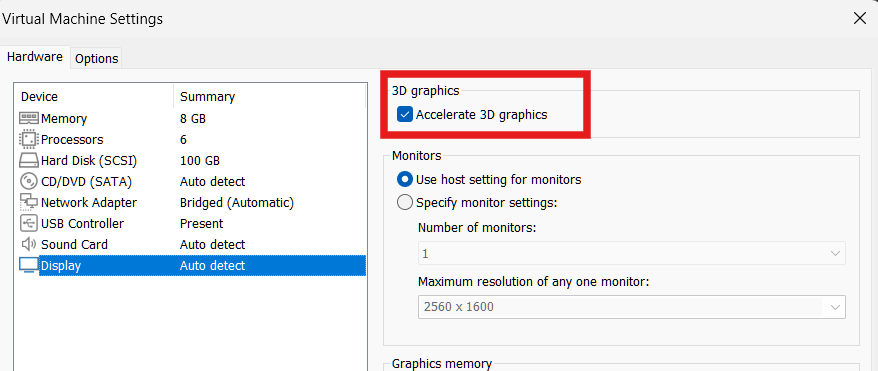
Also, give the display the maximum available video memory (in my case, 8GB).
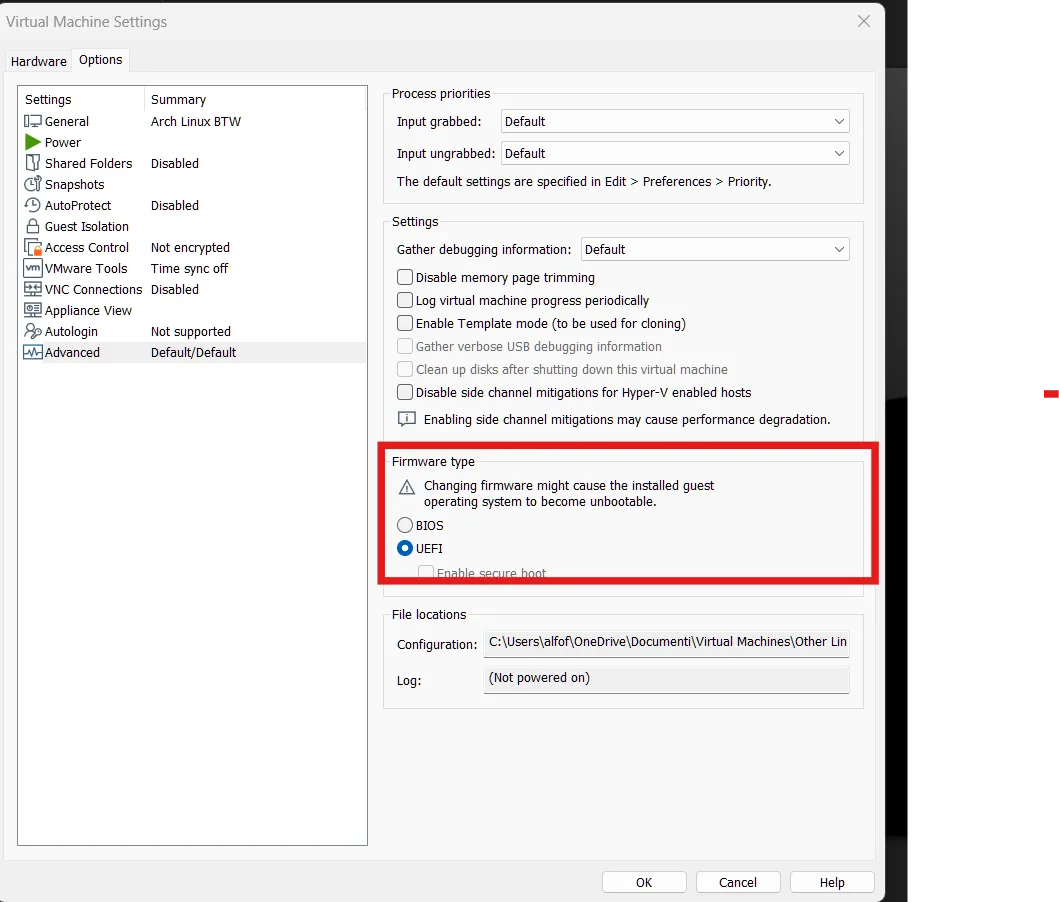
Don't forget to enable EFI: Right click on the VM --> Settings --> Options --> Advanced --> Enable Efi:
Now, follow the Arch Linux installation steps from the previous article until the GNOME configuration.
Configure Wayland
After completing the Arch Linux installation, we need to configure Wayland to run Sway properly. First, ensure that 3D acceleration is enabled.
Install the open-vm-tools:
pacman -S open-vm-toolsThis package comes with a lot of utilites, for example:
vwtoolsd: A service for reporting VM status.vmware-user: A tool for enabling clipboard sharing between host and guest.
To verify 3D acceleration: lspci | grep -i vga --> if you see VMware SVGA II adapter, you're all set.
Warning: If not, poweroff the VM, go to VM setting and check if the 3D acceleration checkbox is checked
Next, install the required packages for Wayland:
sudo pacman -S wayland mesa libinput xorg-xwaylandSway
Now you have a running Arch Linux setup with:
- LVM
- Encryption
- Systemd network
- Systemd boot
- Wayland
It's time to install Sway along with some useful packages:
pacman -S sway polkit swaybg swayidle swaylock waybar foot wofiThe above packages enanches the experience of Sway:
polkit: Allows sway to access your keyboard, mouse and graphic cardswaybg: Renders the backgroundswayidle: Manages idle behaviourswaylock: Lock your screenwaybar: Customizes the status bar (we'll configure this later).foot: Default terminal emulatorwofi: Application launcher
To automatically start Sway after the login, add this to your .bashrc or any shell configuration file:
if [ -z "$WAYLAND_DISPLAY" ] && [ "$XDG_VTNR" -eq 1 ]; then
  exec sway
fi
For proper execution in a VM (due to cursor issues), create a startup script (e.g., start.sh):
#!/bin/env sh
export WLR_RENDERER_ALLOW_SOFTWARE=1
export WLR_NO_HARDWARE_CURSORS=1
export XDG_CURRENT_DESKTOP=wayland
sway
chmod +x startup.sh
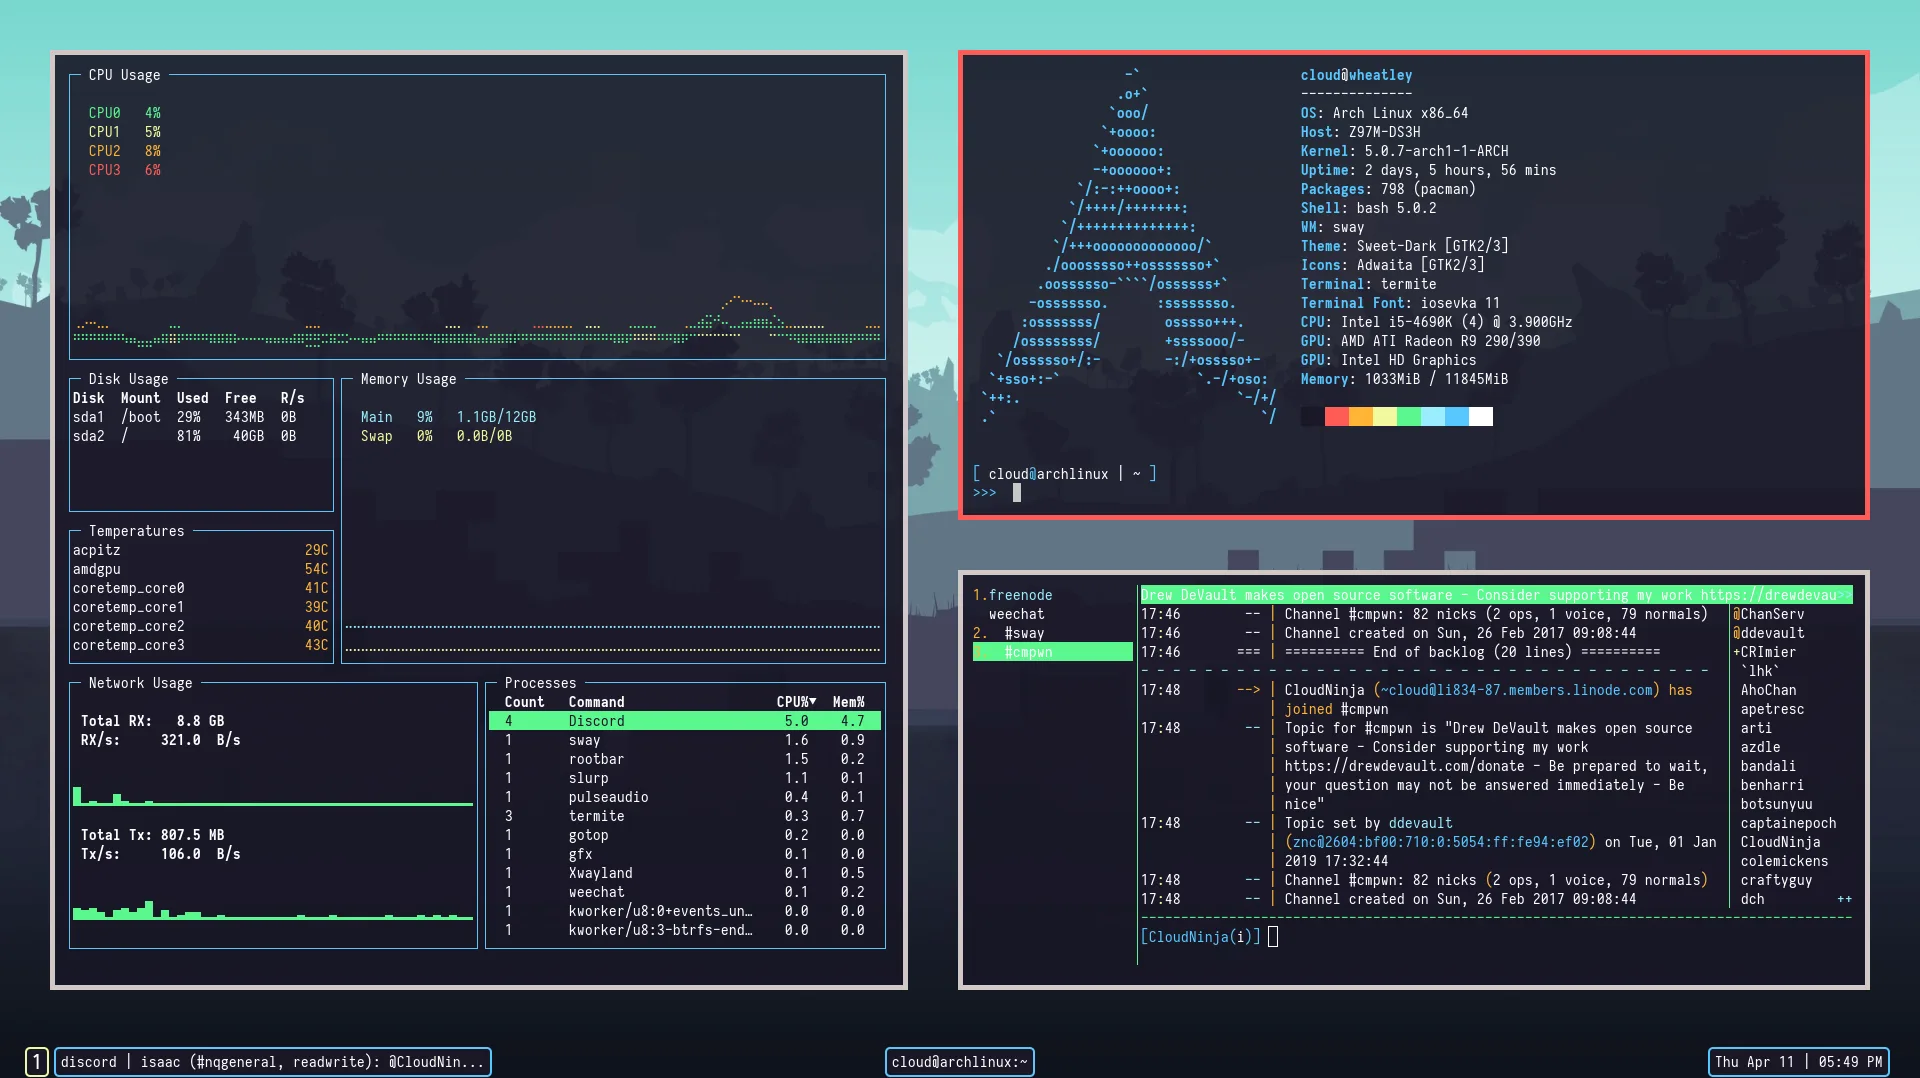
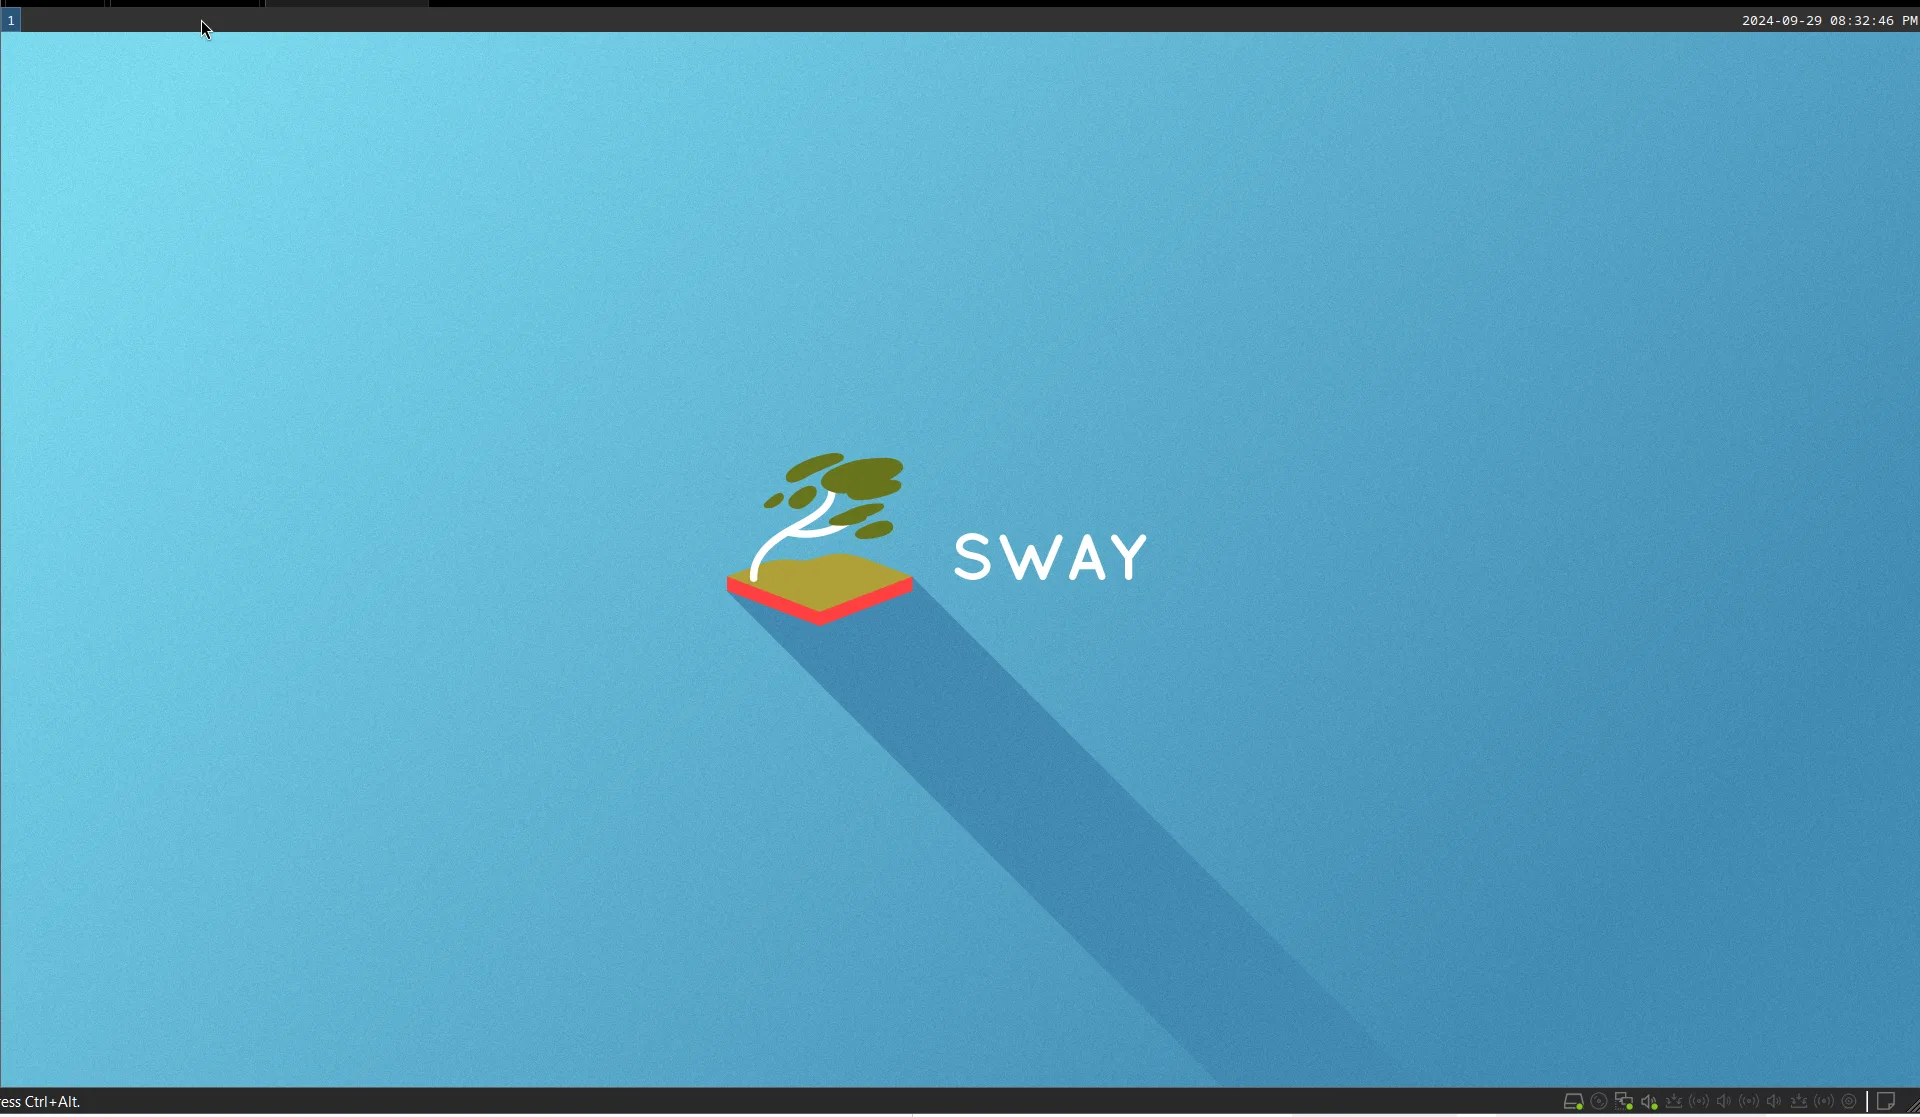
./startup.shNow, you should see something like this:
To open the terminal, press mod + Enter (where mod is cmd on macOS or Windows on Windows).
Customizing Sway config and Monitor setting
To customize the status line and monitor settings, copy the default Sway configuration to your .config directory:
mkdir -p .config/sway
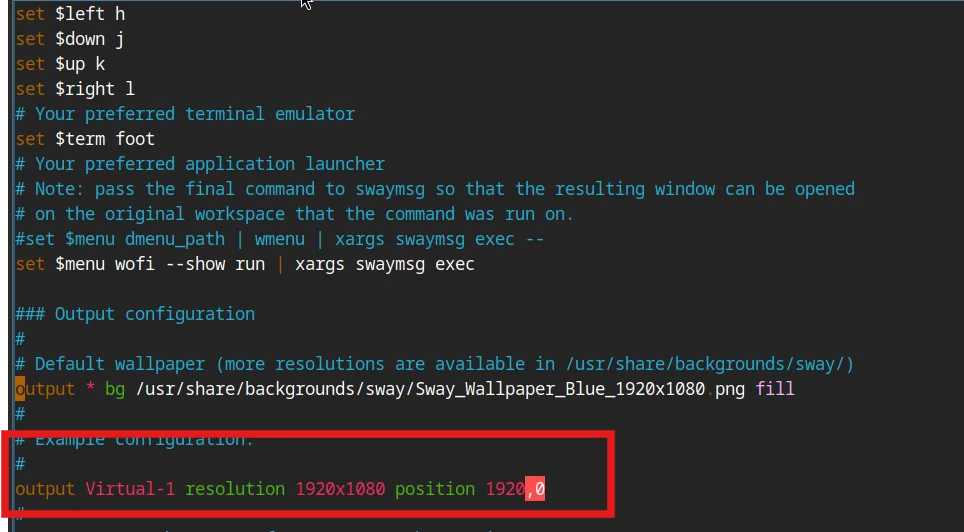
cp /etc/sway/config .config/swayAdjust your monitor settings in the config file:
swaymsg --get-outputs #show all the monitors attached
Grab the monitor name, and then modify .config/sway:
Wofi as Default Launcher
Enable Wofi as the default app launcher in the Sway config file:

You can lunch Wofi with: <mod> + d
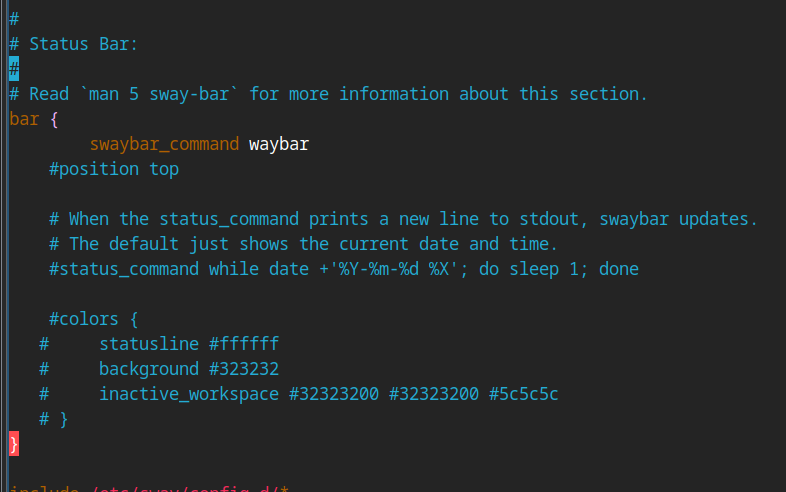
Enable Waybar and configure it
To enable Waybar, add it to your config file:
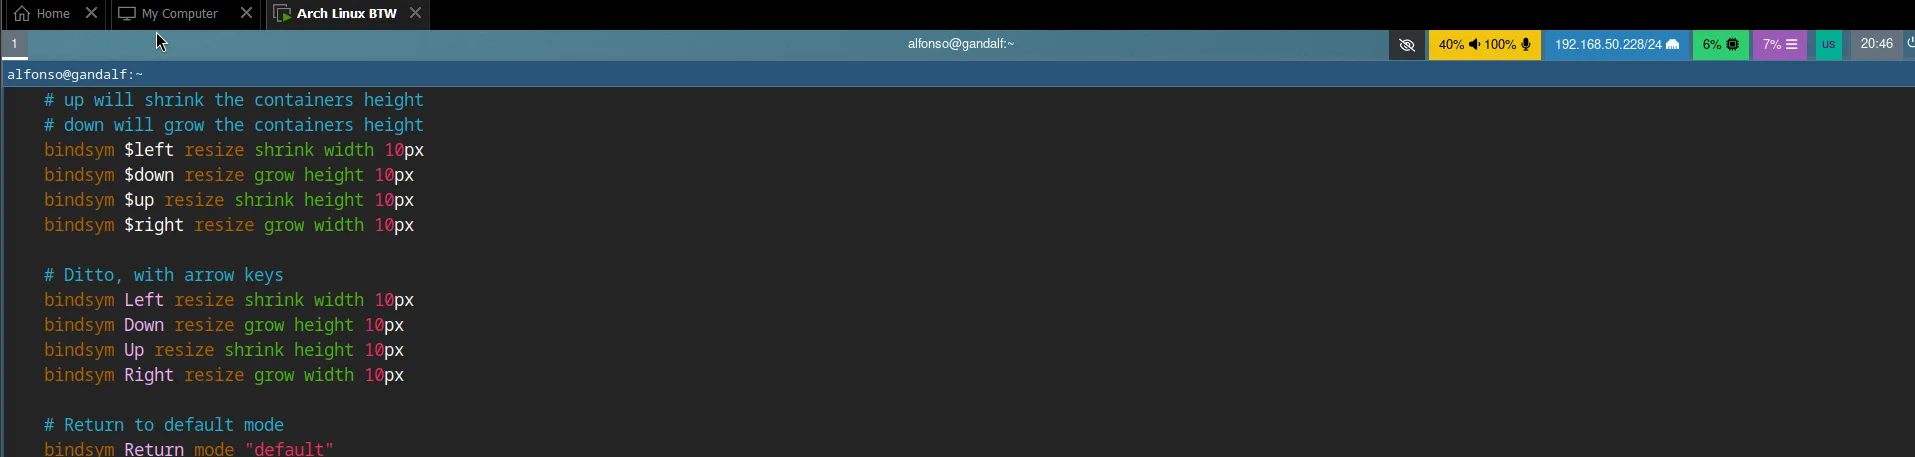
Reload the Sway config with: mod + shift + c. Then,you see the bar:
Note: If you have font issues, install Font Awesome: sudo pacman -S otf-font-awesome.
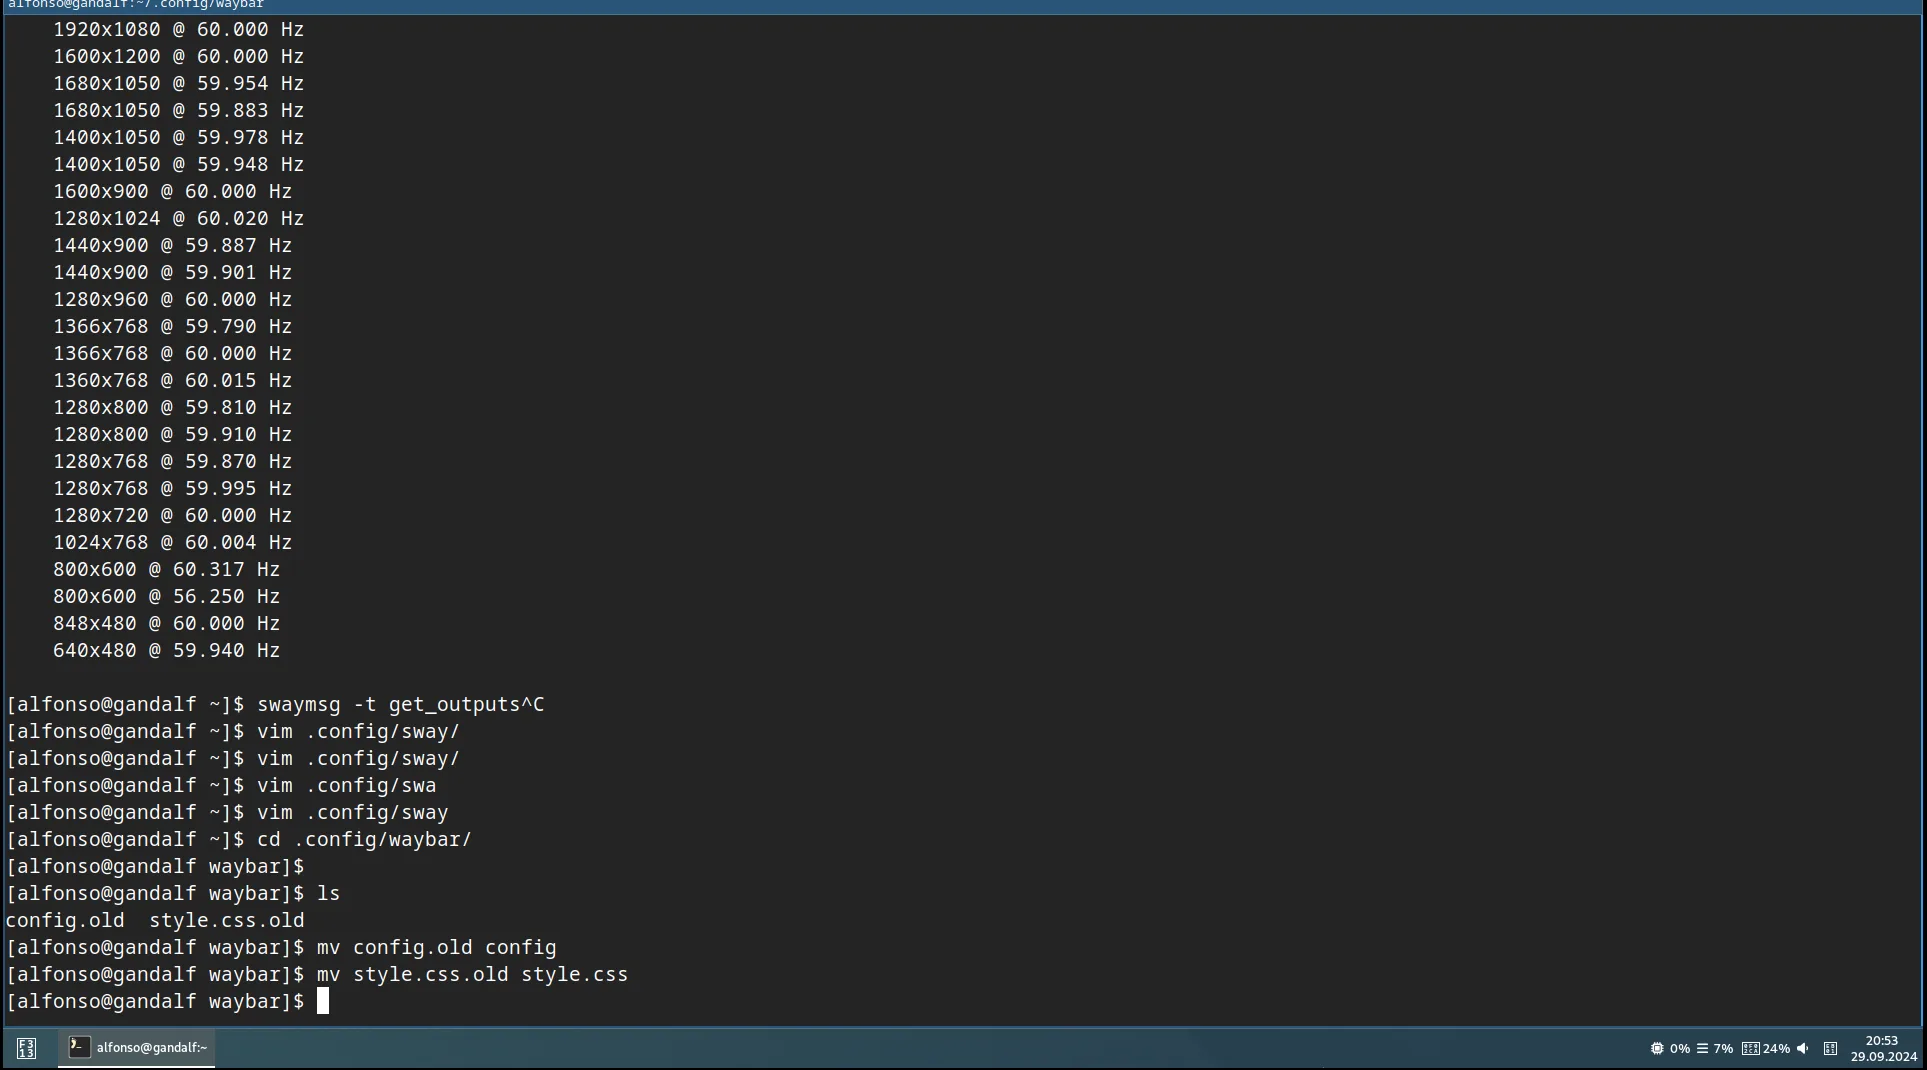
To customize Waybar:
mkdir -p .config/waybar
cp /etc/xdg/waybar/config.jsonfc .config/waybar
Waybar is divided into three sections: left, center, and right. You can customize each section and its style. Check out the official repo for examples. I used this one that replicate the win10 bar:
The other settings are pretty much the same of i3, so you can feel at home if you are familiar with it.
Wrap up
The 3D acceleration works out of the box in VMware, avoiding the hassle of extra tools required in VirtualBox.
While there are some performance issues, I haven't experienced any system crashes. However, I think installing a GNOME distribution or X11 on a VM might offer a better experience, as Wayland struggles a bit in this environment.
In the next blog post, I'll continue customizing Sway to replicate the i3 experience and try out Pop!_OS Shell on GNOME.